Showing posts with label sewing. Show all posts
Learn How to Sew a Midi Length A-Line Skirt from Scratch (Free Pattern in 7 Sizes)

3/06/2024

Learn How to Sew a Midi Length A-Line Skirt from Scratch (Free Pattern in 7 Sizes)


Hello, everyone!  Today, I have a special treat for you. I’m going to tell you more about my latest project: a midi length a-line skirt with a zipper and slits. And guess what? I also have a video tutorial and a free pdf pattern for you to download and use. How awesome is that?

A midi length a-line skirt is a staple of the 60’s mod wardrobe. It is also a great wardrobe booster for any style. It’s perfect for hot summer days and works as a great transitional piece when paired with thigh-high socks or stockings. The simple lines of a button front a-line skirt are also great for any sewist who wants to show off a great fabric print 


Materials & Tools Needed:

To sew a midi length a-line skirt, you will need the following tools and materials:

Sewing tools.
Magnetice seam guid and magnet on table.

You will also need a magnetic seam guide or a magnet to help you sew evenly.

 Free PDF Pattern in 7 sizes

I used a simple a-line skirt pattern that I created few months ago. I love this pattern because it’s based on your measurements, so you can adjust it to any size . It’s also super quick. I can make one in about an hour! 

 And the best part is, I have a free pdf pattern for you to download and use.

Get the free pattern here

Check out my detailed posts on how to print, cut-out, and assemble PDF patterns.

How to print and assemble free PDF patterns

How to cut out sewing patterns with tips and tools

Video Tutorial

If you want to learn how to sew this skirt, you can watch my video tutorial on my YouTube channel. In this video, I will show you step by step how to make this beautiful and versatile skirt from scratch. You will learn how to measure, cut, and sew your fabric, how to add a zipper and slits, and how to finish your skirt with a hem and a waistband. 

Watch the video here.

How to Add a Slit

Watch my detailed video on how to add a slit to any skirt or dress.

How to Hem

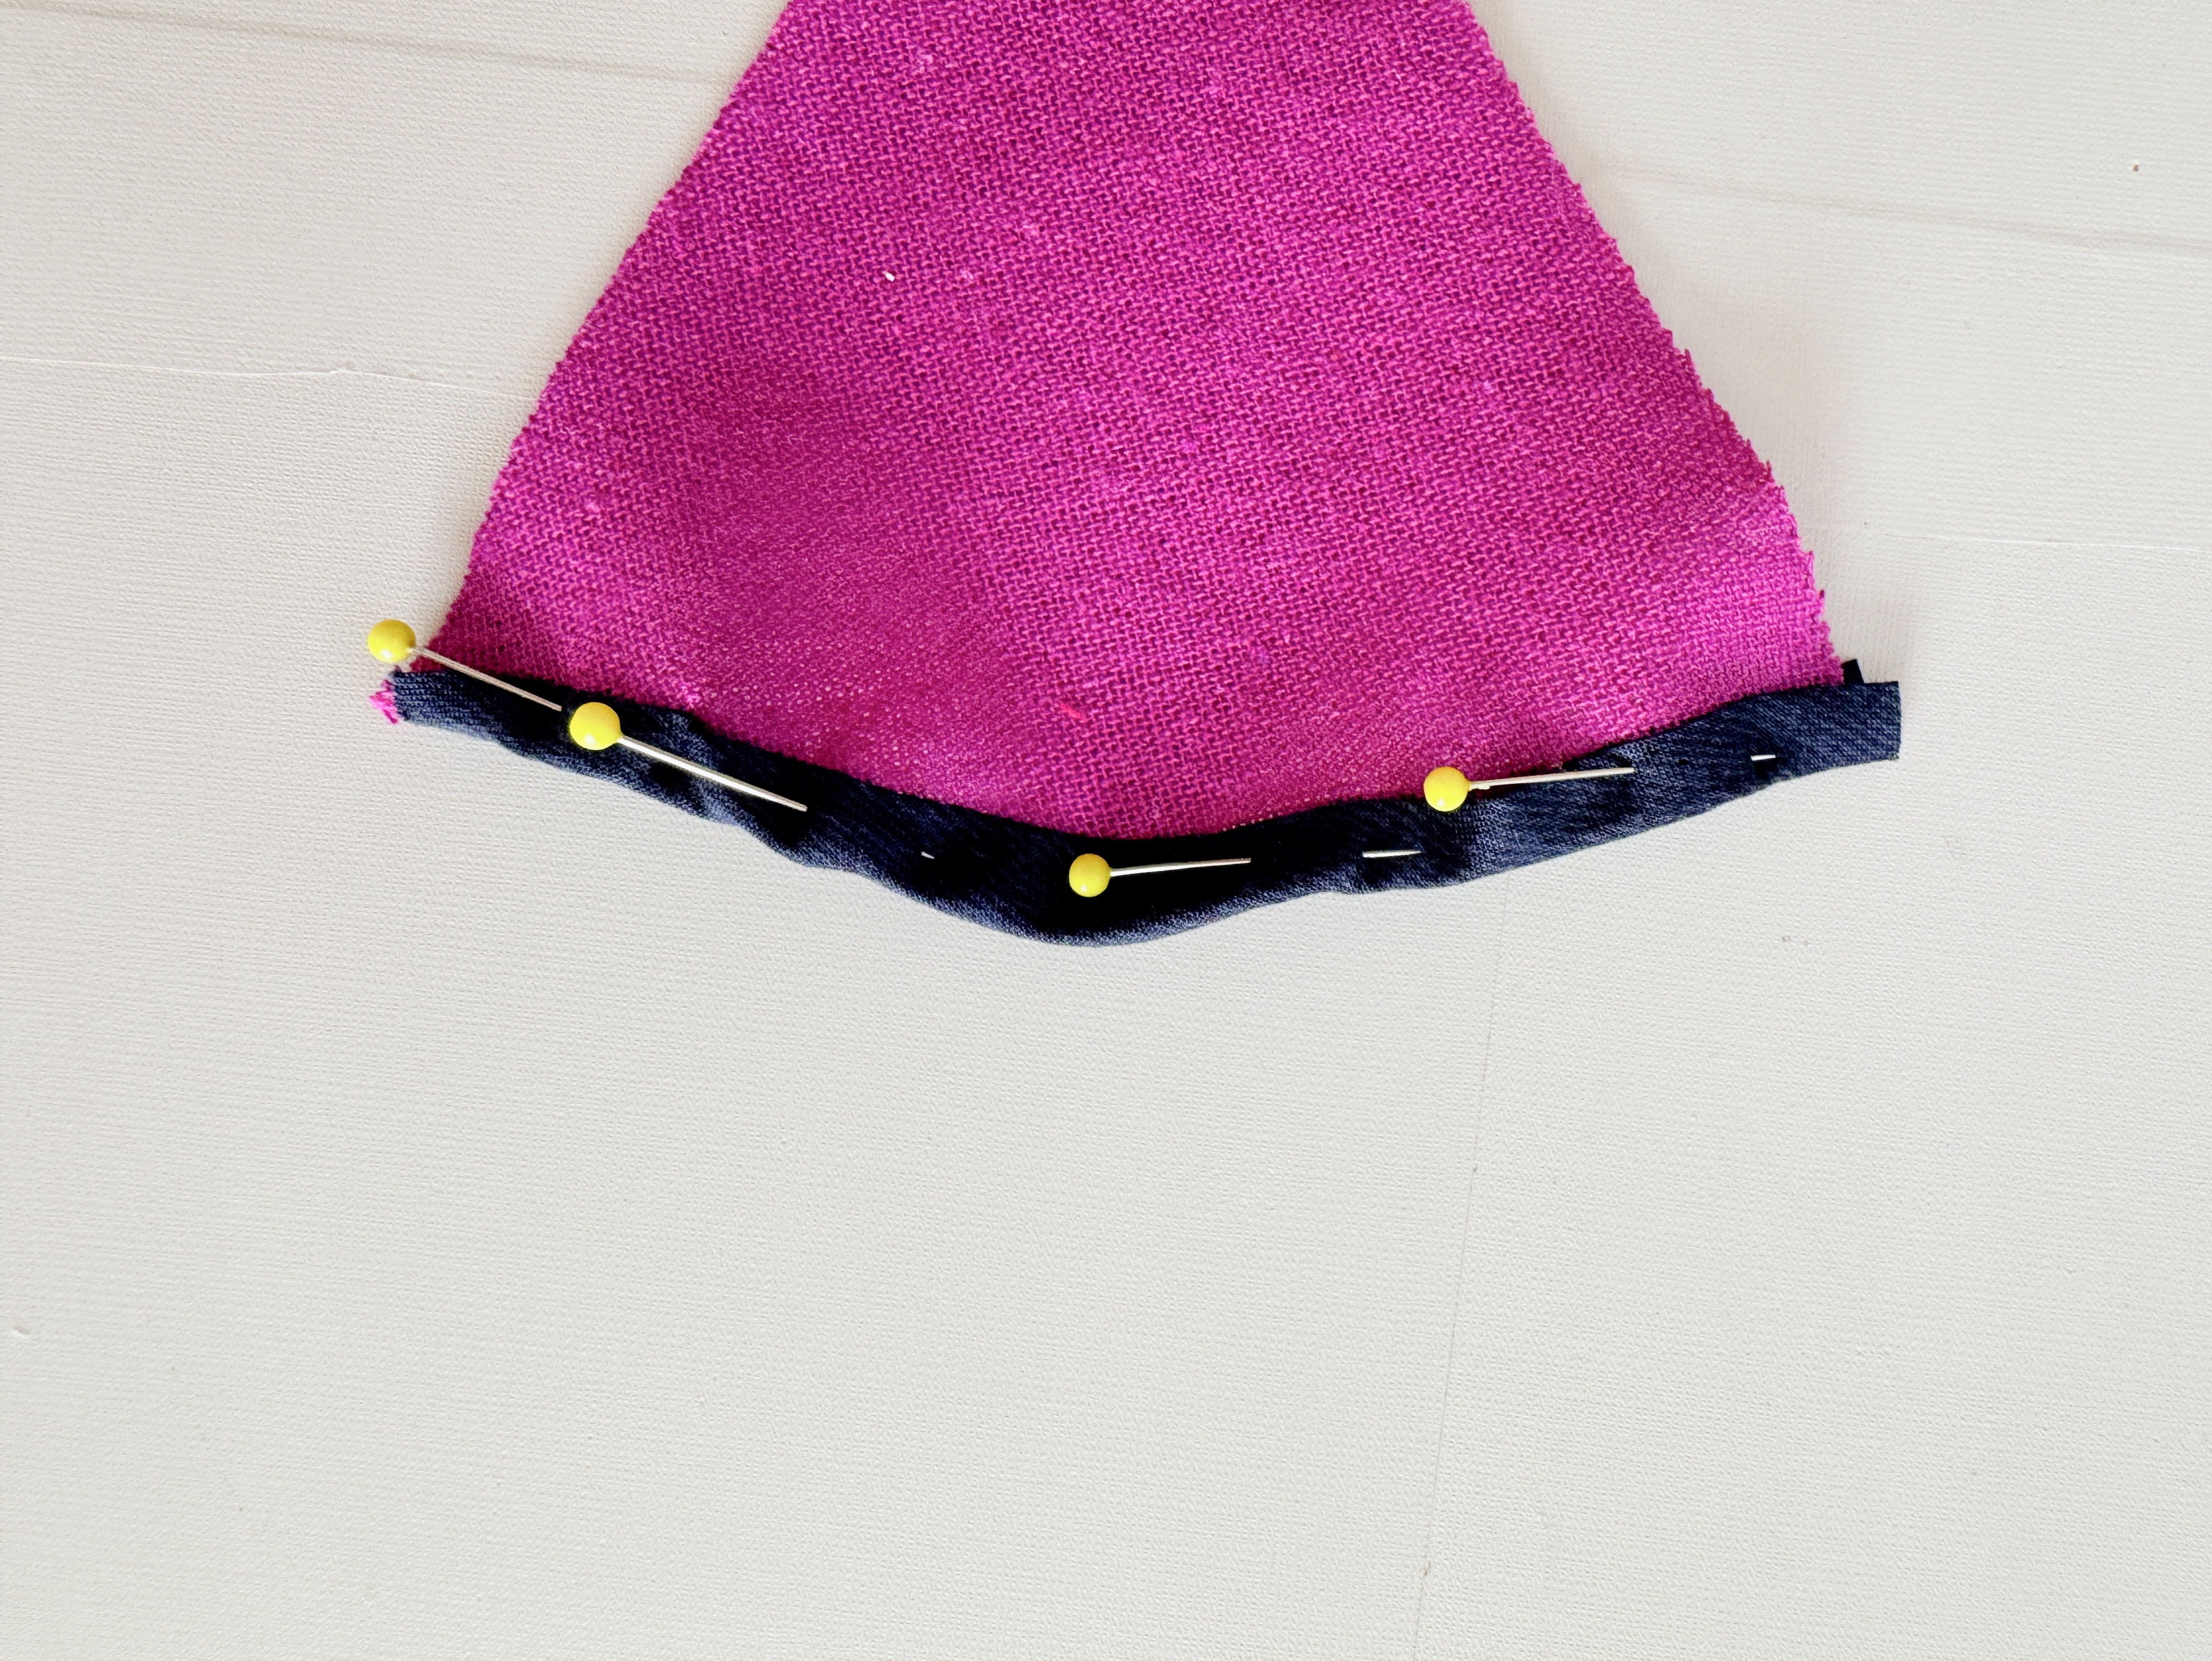
To finish off the a-line skirt, the last step is to sew the edges, I suggest a 4 cm hem. Hemming requires folding and stitching the fabric to create a neat and durable finish. There are different types of hems to choose from, depending on the fabric and the look you want for your dress.

Check out my detailed post on how to hem here.
Hemming the fabric.

How to Style A-line Skirt 

Here are some examples of outfits that you can create with a midi length a-line skirt:
For a chic and modern look,
Styling propositions for midi length a-line skirt.

you can wear a black leather midi length a-line skirt with a white crop top, a black leather jacket, and black ankle boots. You can also add a black crossbody bag and some gold jewelry to complete the look.


For a cute and girly look,
Styling propositions for midi length a-line skirt.

you can wear a pink pleated midi length a-line skirt with a grey oversized sweater, pink shoes, and a neutral bag. You can also add some pearl earrings and a pink headband to add some charm.


For a classy and sophisticated look,
Styling propositions for midi length a-line skirt.

you can wear a navy velvet midi length a-line skirt with a grey sweater over a lace shirt, white sneakers, and a red bag. You can also add some gold necklaces and a watch to add some elegance.


For a fun and colorful look,
Styling propositions for midi length a-line skirt.

you can wear a mustard pleated velvet midi length a-line skirt with a white shirt, a navy blazer, and burgundy suede boots. You can also add a clutch, and some sunglasses to add some drama.


For a simple and casual look,
Styling propositions for midi length a-line skirt.

you can wear a denim midi length a-line skirt with a striped T-shirt, a denim jacket, and white sneakers. You can also add a backpack, a baseball

I hope you enjoy this video and find it helpful. If you do, please give it a thumbs up, leave a comment, and share it with your friends and family who might also love sewing. And if you haven’t already, please subscribe to my channel and hit the bell icon to get notified of my future videos.

Thank you for reading and watching. I really appreciate it. Happy sewing! 😊

 This post has affiliate links * Affiliate Link. This means that if you click on the link and purchase an item, I will receive a small percentage of your purchase (at no extra cost to you).

 #sewing #skirt #midilength #aline #sewingtutorial #alineskirttutorial #freepattern #pdfpattern #sewingofinstagram #sewingismytherapy


DIY Bustier Dress with Faux Shirring and Basque Waistline | Free PDF Pattern + Video Tutorial

1/30/2024

DIY Bustier Dress with Faux Shirring and Basque Waistline | Free PDF Pattern + Video Tutorial

Do you love the look of a bustier dress with a faux shirring technique and a Basque waistline? Do you want to learn how to make one yourself? If so, you are in the right place!

In this blog post, I will show you how to sew a bustier dress with faux shirring and Basque waistline, using a free PDF pattern that I created in 5 sizes. You will also get access to a step-by-step video tutorial that will guide you through the whole process.

This dress is easy to make, comfortable to wear, and flattering to any body shape. Plus, you don’t need a zipper, because the faux shirring technique creates a stretchy and snug fit. And the best part is, you can customize it with your favorite fabric and accessories.

So, if you are ready to make your own bustier dress, keep reading!


What You’ll Need:


 You will also need a magnetic seam guide or a magnet to help you sew evenly.

How to Print and Cut the Pattern

 Here you can download free PDF patterns

Check out how to measure yourself to see what size is the best for you.

Check out as well:

How to print and assemble free PDF patterns

How to cut out sewing patterns with tips and tools


How to Make Faux Shirring Panel to Dress

 Check out my detailed tutorial on faux shirring here and watch video here to learn it.

Step by Step Video Tutorial


How to Style Bustier Dress with Faux Shirring and Basque Waistline

This dress is versatile and can be styled for different occasions and seasons.

Here are some tips on how to style a bustier dress with faux shirring and Basque waistline:

  • Choose the right fabric and color for your dress. Depending on the look you want to achieve, you can opt for a solid or a printed fabric, a light or a dark color, a smooth or a textured fabric, and so on. For example, you can choose a floral print fabric for a romantic and springy look, a black velvet fabric for a glamorous and winter look, or a denim fabric for a casual and summer look.
  • Accessorize your dress with jewelry, shoes, and bags. You can add some sparkle and shine to your dress with earrings, necklaces, bracelets, and rings. You can also choose shoes and bags that match or contrast with your dress color and style. For example, you can pair your dress with heels and a clutch for a formal and elegant look, with flats and a tote for a casual and comfy look, or with boots and a backpack for a trendy and edgy look.


  • Layer your dress with jackets, cardigans, or scarves. You can add some warmth and texture to your dress with outerwear and scarves. You can also mix and match different patterns and colors to create a fun and unique look. For example, you can wear your dress with a leather jacket and a plaid scarf for a cool and cozy look, with a denim jacket and a floral scarf for a cute and girly look, or with a blazer, a solid scarf and high-knee boots for a chic and professional look.

Congratulations, you have just learned how to sew a bustier dress with faux shirring and Basque waistline, using a free PDF pattern in 5 sizes and a step-by-step video tutorial.

I hope you had fun and learned something new from this blog post. This dress is a great addition to your wardrobe, as it is versatile, comfortable, and flattering. You can wear it for any occasion, and customize it with your favorite fabric and accessories.

If you liked this blog post, please share it with your friends and family who love sewing. You can also leave me a comment below and let me know how your dress turned out. I would love to see your photos and hear your feedback.

And if you want to learn more about sewing, don’t forget to subscribe to my newsletter or follow me on social media. I post new sewing tutorials, tips, and patterns every week. You don’t want to miss them!

Thank you for reading and happy sewing! 🧵

Pins


 This post has affiliate links * Affiliate Link. This means that if you click on the link and purchase an item, I will receive a small percentage of your purchase (at no extra cost to you).


3 Easy Ways to Turn Straps Right Side Out in Sewing ( For Beginners)

1/27/2024

3 Easy Ways to Turn Straps Right Side Out in Sewing ( For Beginners)


In this post, I will show you how to use three different tools to turn straps right side out: a loop turner, a bobby pin, and a safety pin.

If you are new to sewing, you might wonder how to turn straps right side out after stitching them. This is a common challenge for many beginners, but don’t worry, there are some easy ways to do it. In this post, I will show you how to use three different tools to turn straps right side out: a loop turner, a bobby pin, and a safety pin.


What is a Loop Turner?


A loop turner is a long metal or plastic tool with a hook at one end and quite often a ring at the other. It is designed to help you turn narrow tubes of fabric right side out.

How to Use a Loop Turner to Turn Straps Right Side Out

Here are the steps to use a loop turner to turn straps right side out:

  1. Stitch your strap as usual, leaving one end open and the other end closed.
  2. Insert the hook end of the loop turner into the open end of the strap, pushing it all the way to the closed end.
  3. Hook the closed end of the strap with the loop turner and pull it back through the tube, turning the strap right side out.
  4. Remove the loop turner and press the strap flat.


What is a Bobby Pin ?

A bobby pin is a small metal clip that is used to hold hair in place. It has two prongs that are bent at the middle. You can use a bobby pin as a substitute for a loop turner if you don’t have one. However, be careful not to poke yourself with the sharp ends of the bobby pin.


How to Use a Bobby Pin to Turn Straps Right Side Out

Here are the steps to use a bobby pin to turn straps right side out:

  1. Stitch your strap as usual, leaving one end open and the other end closed.
  2. Open the bobby pin slightly and insert one prong into the open end of the strap, pushing it all the way to the closed end.
  3. Pinch the closed end of the strap with the bobby pin and pull it back through the tube, turning the strap right side out.
  4. Remove the bobby pin and press the strap flat.

What is a Safety Pin?

A safety pin is a metal pin that has a spring mechanism and a clasp. It is used to fasten or secure fabric or clothing. You can also use a safety pin to turn straps right side out, but it might take longer than using a loop turner or a bobby pin.


How to Use a Safety Pin to Turn Straps Right Side Out

Here are the steps to use a safety pin to turn straps right side out:

  1. Stitch your strap as usual, leaving one end open and the other end closed.
  2. Attach a safety pin to the closed end of the strap, making sure it is securely fastened.
  3. Insert the safety pin into the open end of the strap, pushing it along the inside of the tube.
  4. Gather the fabric onto the safety pin while pulling the open end of the strap. Once enough fabric piles up, it will start to flip right side out.
  5. Remove the safety pin and press the strap flat.

Turning straps right side out is an essential skill for sewing projects that involve straps, such as bags, dresses, or aprons. You can use different tools to turn straps right side out, depending on what you have available. A loop turner is the fastest and easiest way, but you can also use a bobby pin or a safety pin. I hope this post was helpful for you and you learned something new. Happy sewing!


This post has affiliate links * Affiliate Link. This means that if you click on the link and purchase an item, I will receive a small percentage of your purchase (at no extra cost to you).

How to Sew and Style 4 Last-Minute Dresses for Valentine’s Day

1/19/2024

How to Sew and Style 4 Last-Minute Dresses for Valentine’s Day


 Valentine’s Day is just around the corner and you don’t have anything to wear. Don’t panic, you can still make your own stunning dresses with some simple sewing skills and creativity. In this post, I’ll show you how to sew and style 4 different dresses that are perfect for any occasion. Whether you want to impress your date, have fun with your friends, or treat yourself, these dresses will make you feel fabulous and confident. Ready to get started? Let’s go !

The Best Fabrics for Valentine’s dresses

 If you're looking for a dress that exudes romance and sophistication, you can't make a wrong choice with materials like satin, velvet, lace, or crepe. These fabrics offer a smooth and soft texture against your skin, and their shiny or matte finish reflects light in various captivating ways. Additionally, they drape beautifully, creating a flattering and elegant silhouette for your body. Perfect for Valentine's Day, these fabrics are often linked with luxury and refinement, and they can make you feel glamorous and self-assured. Whether you prefer a formal, flowing, or fitted dress, these fabrics will undoubtedly enhance your stunning appearance.

 The Best Colors for Valentine’s Dresses Fabrics

 Here are some recommendations for the optimal colors to consider when selecting fabrics for Valentine's dresses:


1. Red is the timeless color of Valentine's Day, symbolizing passion, love, excitement, and courage. Fabrics such as satin, velvet, lace, or crepe offer a smooth and lustrous texture, along with an exquisite drape. They are frequently utilized for formal, flowing, or fitted dresses that exude romance and elegance. 2. Pink is another popular choice for Valentine's Day, embodying sweetness, innocence, happiness, friendship, and gentle romantic love. Natural and breathable fabrics like cotton, linen, rayon, or cotton knit are often preferred. These fabrics are commonly used for casual, comfortable, or t-shirt dresses that convey affection without the intensity of red. 3. White is a color that symbolizes purity, perfection, spirituality, and new beginnings. Light, airy, and delicate fabrics such as silk, lace, or chiffon are frequently chosen. They are often utilized for bridal or princess-like dresses, evoking themes of falling in love again or preparing for a new stage in a relationship. 4. Purple signifies mystery, spirituality, creativity, and royalty. Rich, warm, and soft fabrics like velvet, tweed, or heavyweight knit are often favored. These fabrics are commonly used for cozy, winter, or structured dresses that reflect the profound and spiritual aspects of love relationships. 

Sewing tutorials for 4 Last-Minute Dresses for Valentine’s Day with Free PDF Patterns

Now  I will show you a selection of my finest Valentine's Day dresses that you can create on your own. Each dress is accompanied by video tutorials and complimentary PDF patterns or straightforward pattern drafting instructions, allowing you to easily follow along and enjoy the process of sewing. Moreover, you have the freedom to personalize these dresses according to your preferences, whether you desire a more romantic or seductive look. You can modify the sleeves, neckline, length, and more to create a dress that perfectly suits your style.

Sexy backless dress

Flirty corset back dress

Romantic pink dress

Seductive corset dress

 How to Accessorize and Layer your Valentine’s Dress ?

 1. To enhance and add depth to your Valentine's dresses, carefully select accessories that complement the style, color, and occasion of your outfit. If you opt for a ravishing red lace dress, consider pairing it with elegant gold jewelry, sleek black heels, and a sophisticated clutch to achieve a formal and refined look.


 Conversely, if you choose a charming pink cotton dress, accessorize it with delicate silver jewelry, elegant white pumps, and a trendy crossbody bag .


 2. Elevate your dress ensemble by layering it with a stylish coat, jacket, or cardigan that harmonizes with your dress while providing warmth. For instance, if you decide on a graceful white silk dress, layer it with a sophisticated beige trench coat or a cozy cream cardigan to achieve a chic and fashionable look.


 Alternatively, if you opt for a luxurious purple velvet dress, consider layering it with a sleek black leather jacket or a cozy gray knit sweater for a snug and stylish appearance.


 I hope you enjoyed this post and learned how to sew and style 4 last-minute dresses for Valentine’s Day. These dresses are easy to make, affordable, and versatile. You can mix and match them with different accessories, shoes, and jackets to create different looks. Which dress is your favorite? How are you going to celebrate Valentine’s Day? Let me know in the comments below. And don’t forget to share this post with your friends who might need some inspiration. Happy Valentine’s Day!


 This post has affiliate links * Affiliate Link. This means that if you click on the link and purchase an item, I will receive a small percentage of your purchase (at no extra cost to you).